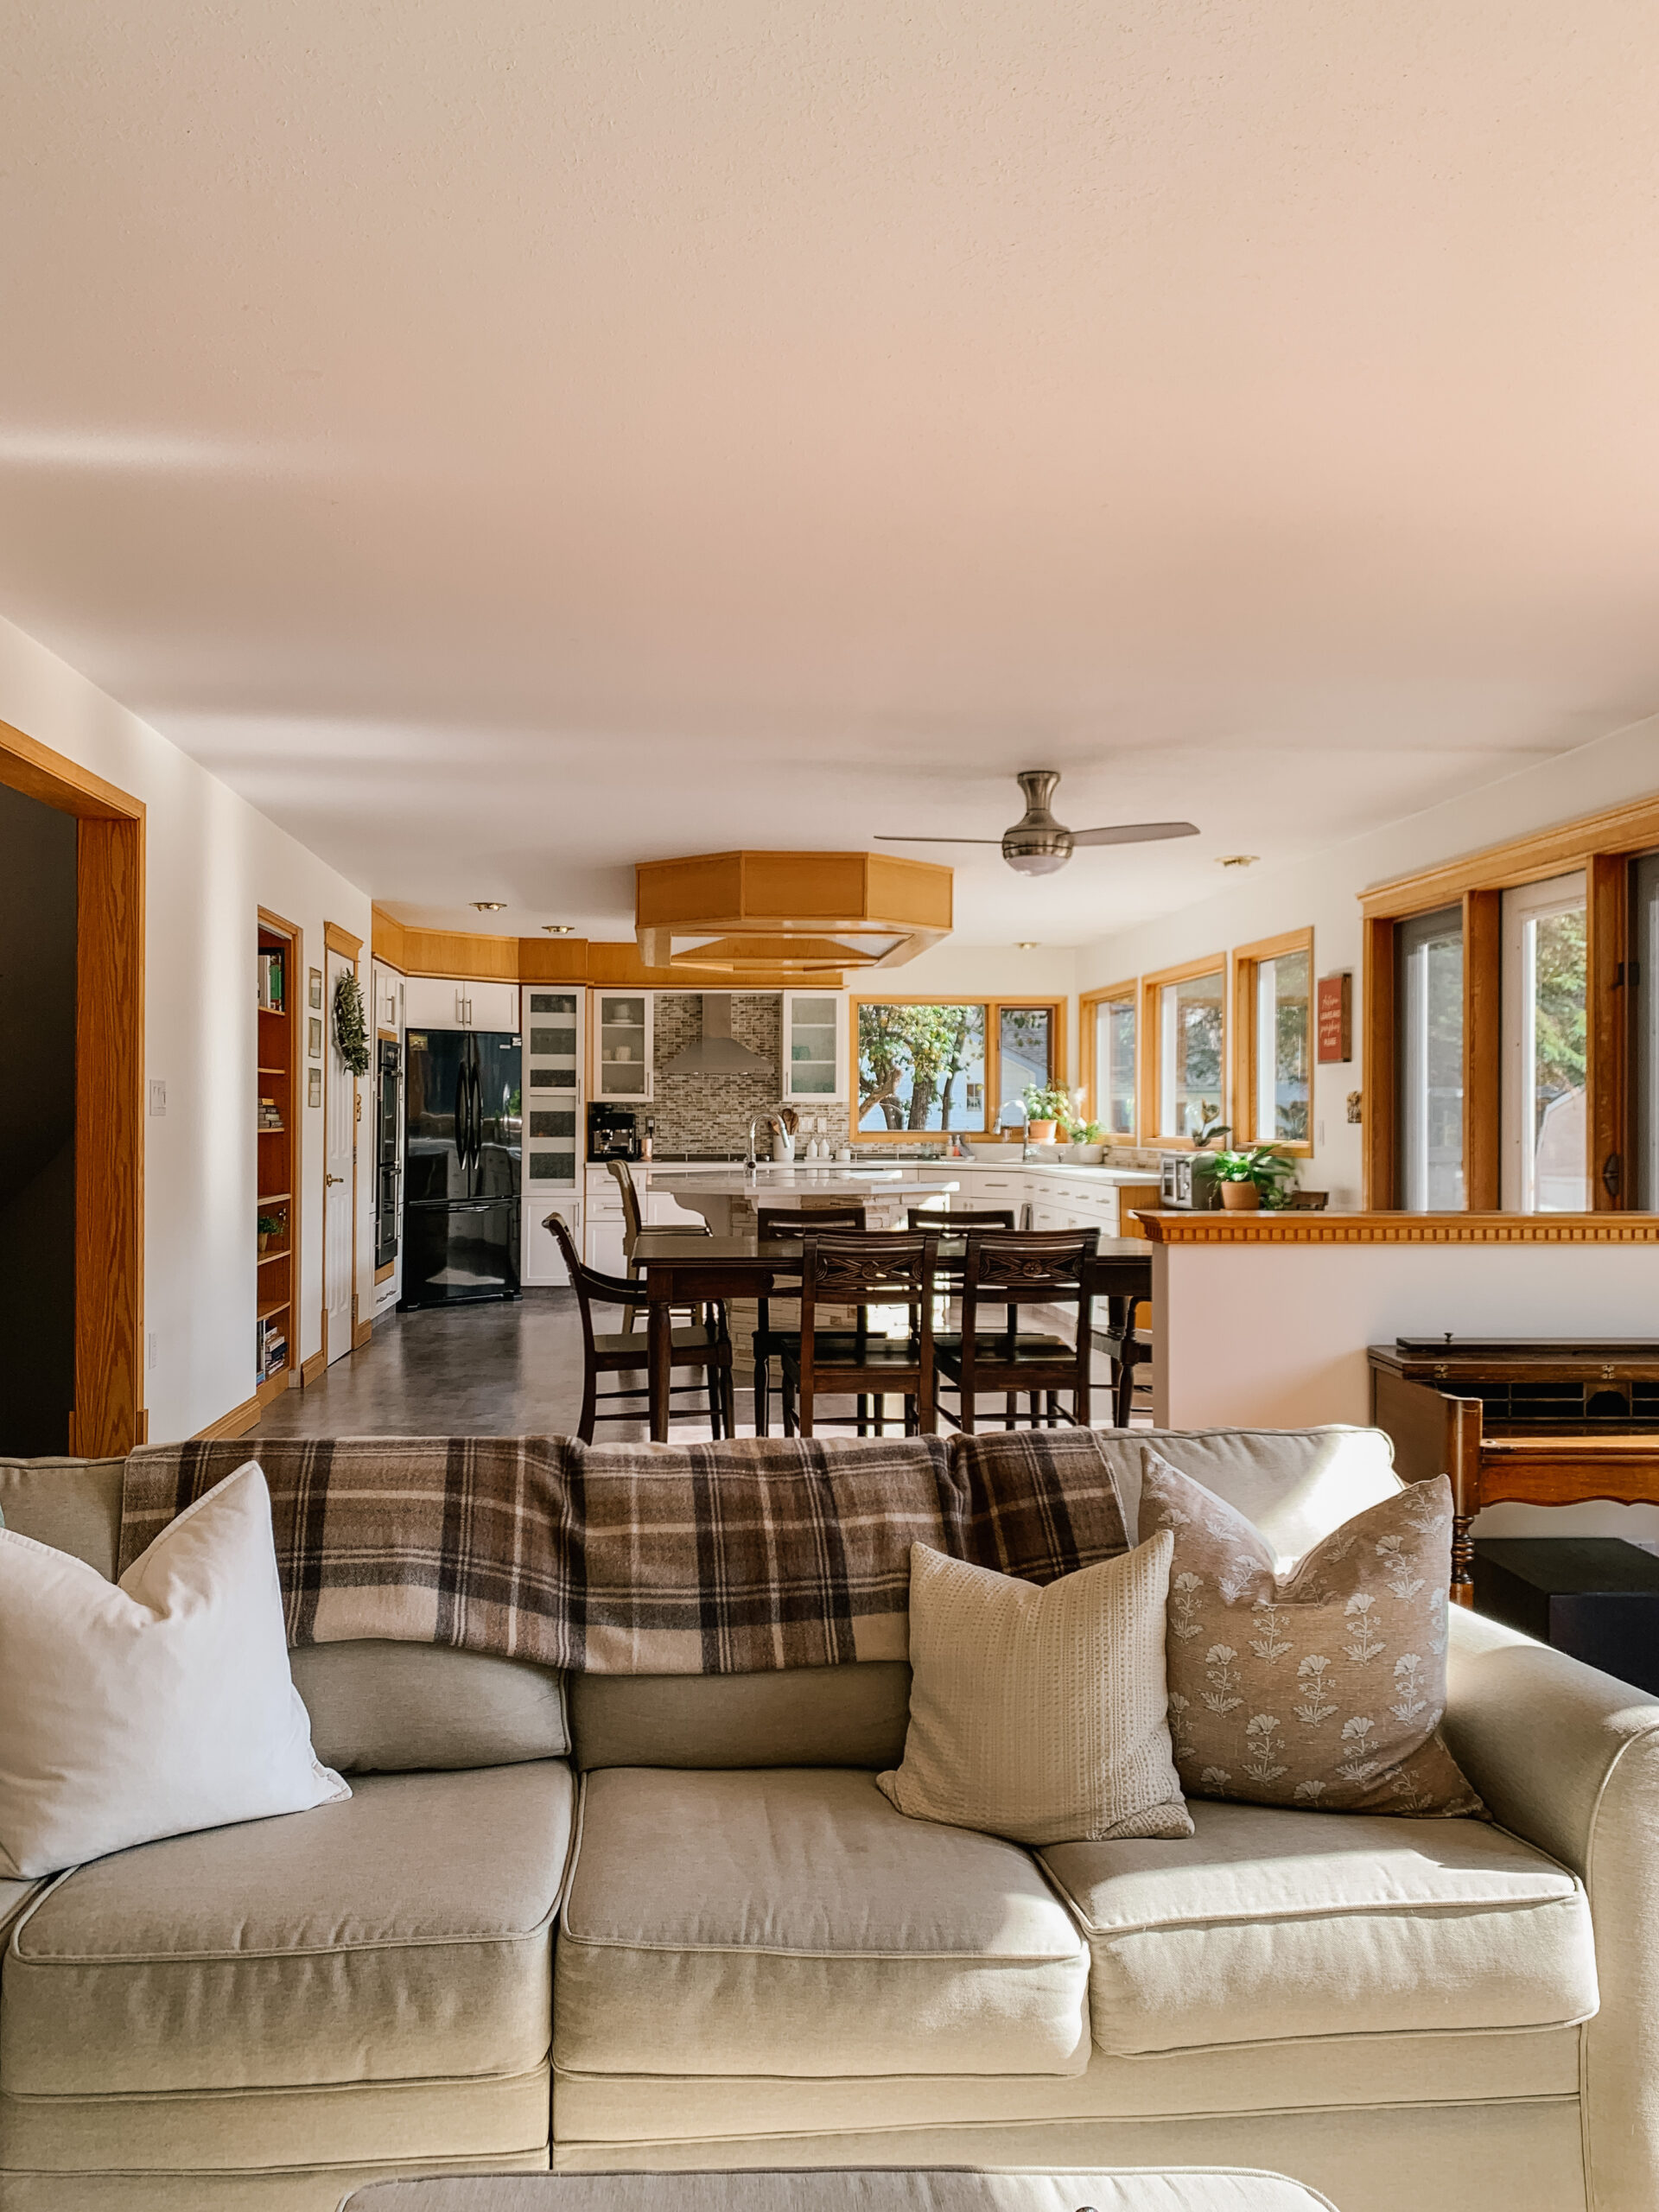
You don’t have to go through the work and expense of a major renovation to see some drastic changes around your home. There are so many simple & inexpensive ways to update a dated home that can make such a big difference to the way your home looks and feels. Today, I’m sharing all the best ways to upgrade your home for less.

If you’ve been following along with our journey in this new/old Tudor (read the incredible story about how we came to live in this old house here if you missed it), you’ll already know that we’ve been working hard to update all the things. This old house has such great bones and a wonderful floor plan that we absolutely love (well, mostly anyway), but each and every space is in desperate need of an update (catch the complete home tour here if you missed it). While we’ve got big plans to renovate all the things, making our way through this big old house is going to take time (I’m still working on making my piece with that). Not only do we have a lot of square footage to renovate, but this old house holds a lot of sentimental value for our whole family and we really want to make sure that we maintain as much of the original character & charm as we can through the process. Needless to say, making decisions around here has felt nearly as daunting as doing all the work that comes after. It’s been a slow process for us so far, but we’re trusting that it will all come together in time, just as it’s meant to.
In the mean time, I’ve been on a mission to make this old house feel like home for us once again. Rather than rush our way through the big decisions and renovations in the interest of having a home we love a little more, I’ve been buying us time with all sorts of smaller scale projects – simple, inexpensive ideas that are easy to execute in a short amount of time and on a more limited budget. I mean, just because we want to give ourselves the time and space to renovate things in a more thoughtful way, doesn’t mean we can’t enjoy our home a little more along the way. Not only have some of these projects helped us to love this old house a little more, but it’s been such a fun way to test out some ideas before we have to commit to more expensive (and likely permanent) design decisions.
I know we’re not the only ones that have been looking for simple & inexpensive ways to update our date home without taking on a major renovation. Whether it’s to buy time while you work through other spaces, save up the funds for that extensive renovation, or even just to update while still preserving that original charm & character that made you fall in love with your home in the first place, there are SO many simple ways to update a dated home without taking on a major renovation. Today, I thought it might be helpful to share some of our favourite ideas to update a dated space with the hopes that it might inspire you to take on some simple projects around your home too.
Simple Ways to Update a Dated Home

ONE: Swap out your lightbulbs.
I know this sounds so simple, but creating the best light really can make a world of difference in how a space feels. Light bulbs are measured in terms of Kelvin (how warm or cool the light reads) and Lumens (how bright a bulb is). My typical go-to’s in terms of general lighting tend to be 3000K and 800 lumens (here are the ones I always have on hand), for lamps, I usually go a bit warmer with 2700K.
TWO: Paint. Paint all the things.
Honestly, no matter how many times I pull out my paint brush, I’m always so amazed at what a difference paint can make. Of all the ideas on this list, I think paint has the most potential for big impact.
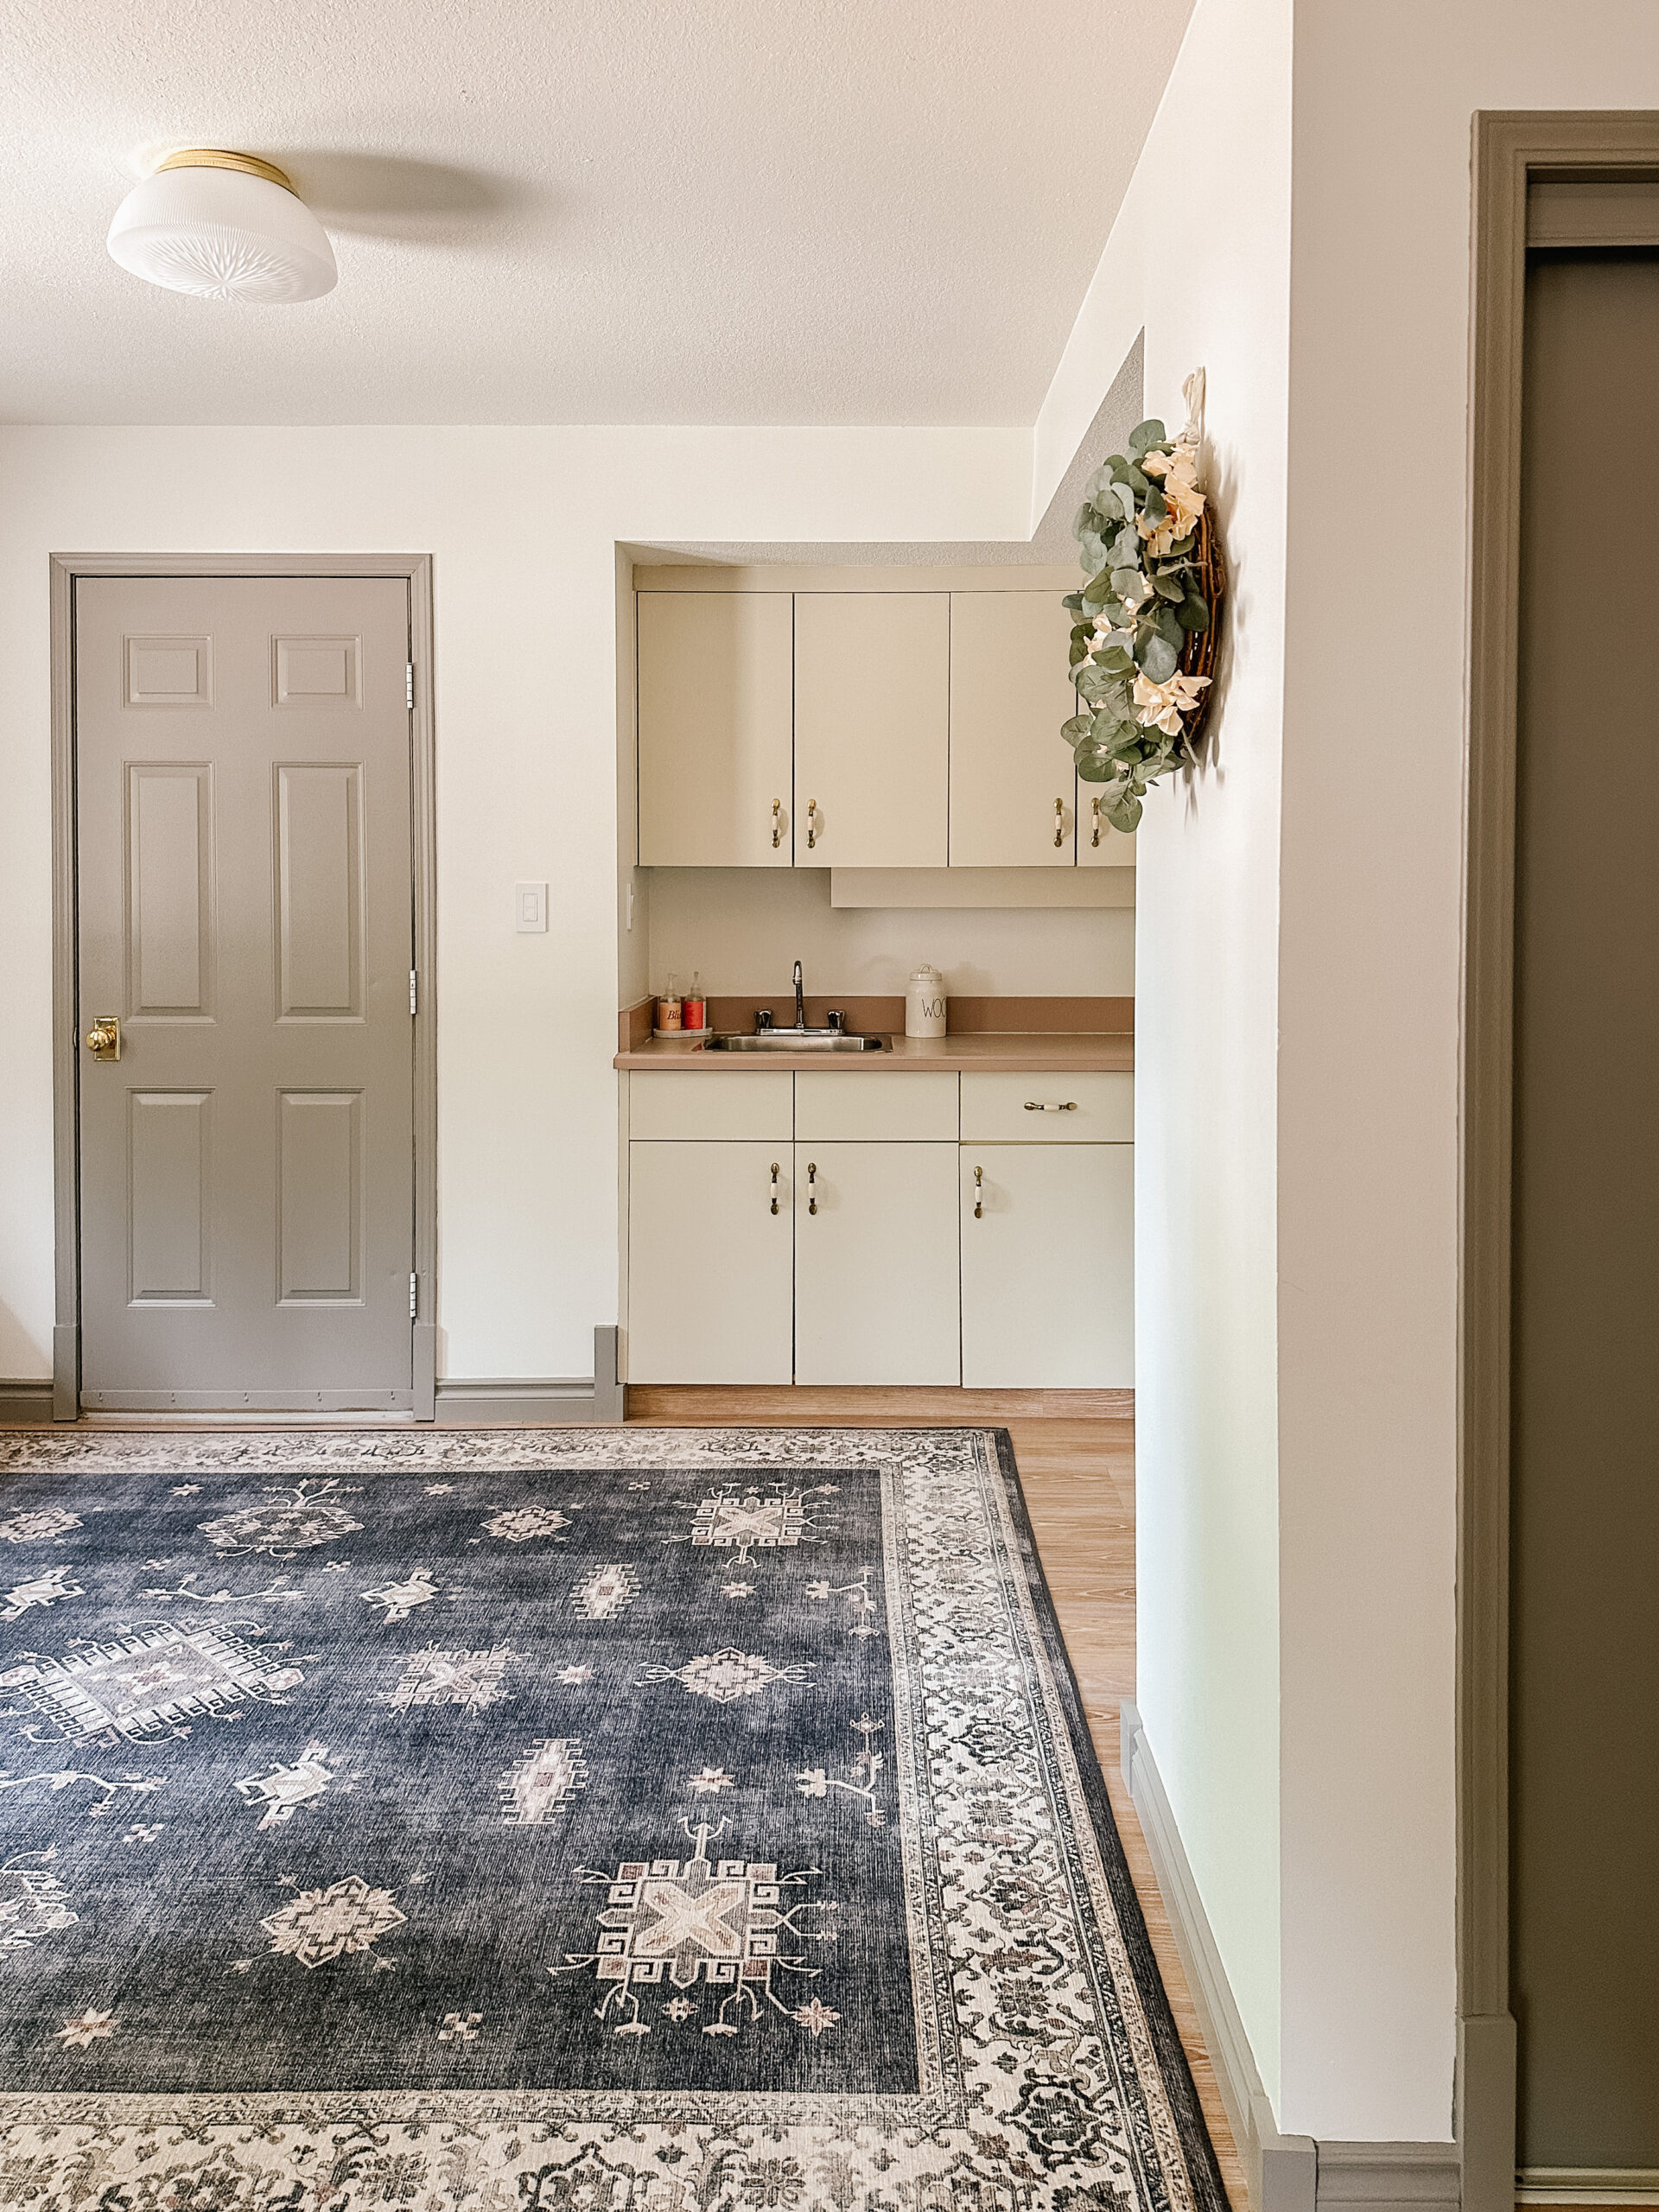
Painting all of our walls was the very first project I took on around here and, aside from a break over the holidays last year, I haven’t really stopped – I think it’s easy to keep pushing through with it simply because it’s so easy to see the difference it’s made in each and every space I’ve worked through. I still have a ways to go yet (mainly the basement now), but it’s easy to see in the photos below what a difference some fresh new paint can make!


Paint can go so much further than just walls. So far I’ve painted out most of the doors and trim throughout this house too and in our old home, we’d gone even further painting out our old brick fireplace and even a bathroom vanity (check out the complete before & after tour of our old Cedar House here). You can read all about our painted doors here and the new greige trim in our mudroom here.


I’d still love to paint out the cabinetry in our kitchen and mudroom – not only will it be an easy way to change up the look and feel of those spaces, but it’ll be the perfect opportunity to test out some colour options before we commit to something more permanent down the road.
Just in case you’re looking for paint ideas, here are some super easy ways you can update your home with paint:
- walls
- doors
- trim
- brick
- tile
- cabinets
- floors
- built-ins

THREE: Swap out light fixtures.
Changing out old lights is such a quick & easy way to update any space. At best, lighting tends be an under-utilized feature (builder grade lighting is notoriously boring), but at it’s worst, a dated light fixture can affect the whole look and feel of a room. Swapping out light fixtures is easier than you think – there are a ton of tutorials available online if you want to take on this super simple job yourself, or if you’d rather leave it to the professionals, a simple light swap doesn’t take long, so when paying out an hourly rate, costs would still remain relatively low. The light fixtures themselves can vary quite a lot in price; however, if you shop around (which is made even easier shopping online), you can find a ton of beautiful options at pretty much any price point.
So far, we’ve managed to swap out almost all of the original dated lights around our main floor for more interesting and current options and it truly has changed the feel of each space. You can check out a few before and afters of our lighting swaps below.


FOUR: Change out switches, outlets and covers.


Light switches, outlets and their corresponding covers are a surefire indicator for the age of a home. Dated switches and outlets matter more than you might think. Swapping out dated switches, outlets and covers is an easy way to update your home (again, tons of tutorials available online to DIY this), but even more, it’s a great opportunity to upgrade either the design or the functionality of your switches. In updating all of the switches throughout our home, we opted to install a smart switch system (you can find the one we went with here). We love that we can install switches in new locations so easily (no wiring required!), and setting up automatic schedules and “scenes” for movie nights or bedtime (we have our door locks and window shades controlled on this one too) has been super fun. While swapping out our switches, we also changed out all of our covers – mostly we went with the screwless wall plate for a more streamlined look, but I opted to make our switch covers more of a feature in the study with these brass wall plates for an elevated look.
FIVE: Swap out hardware.
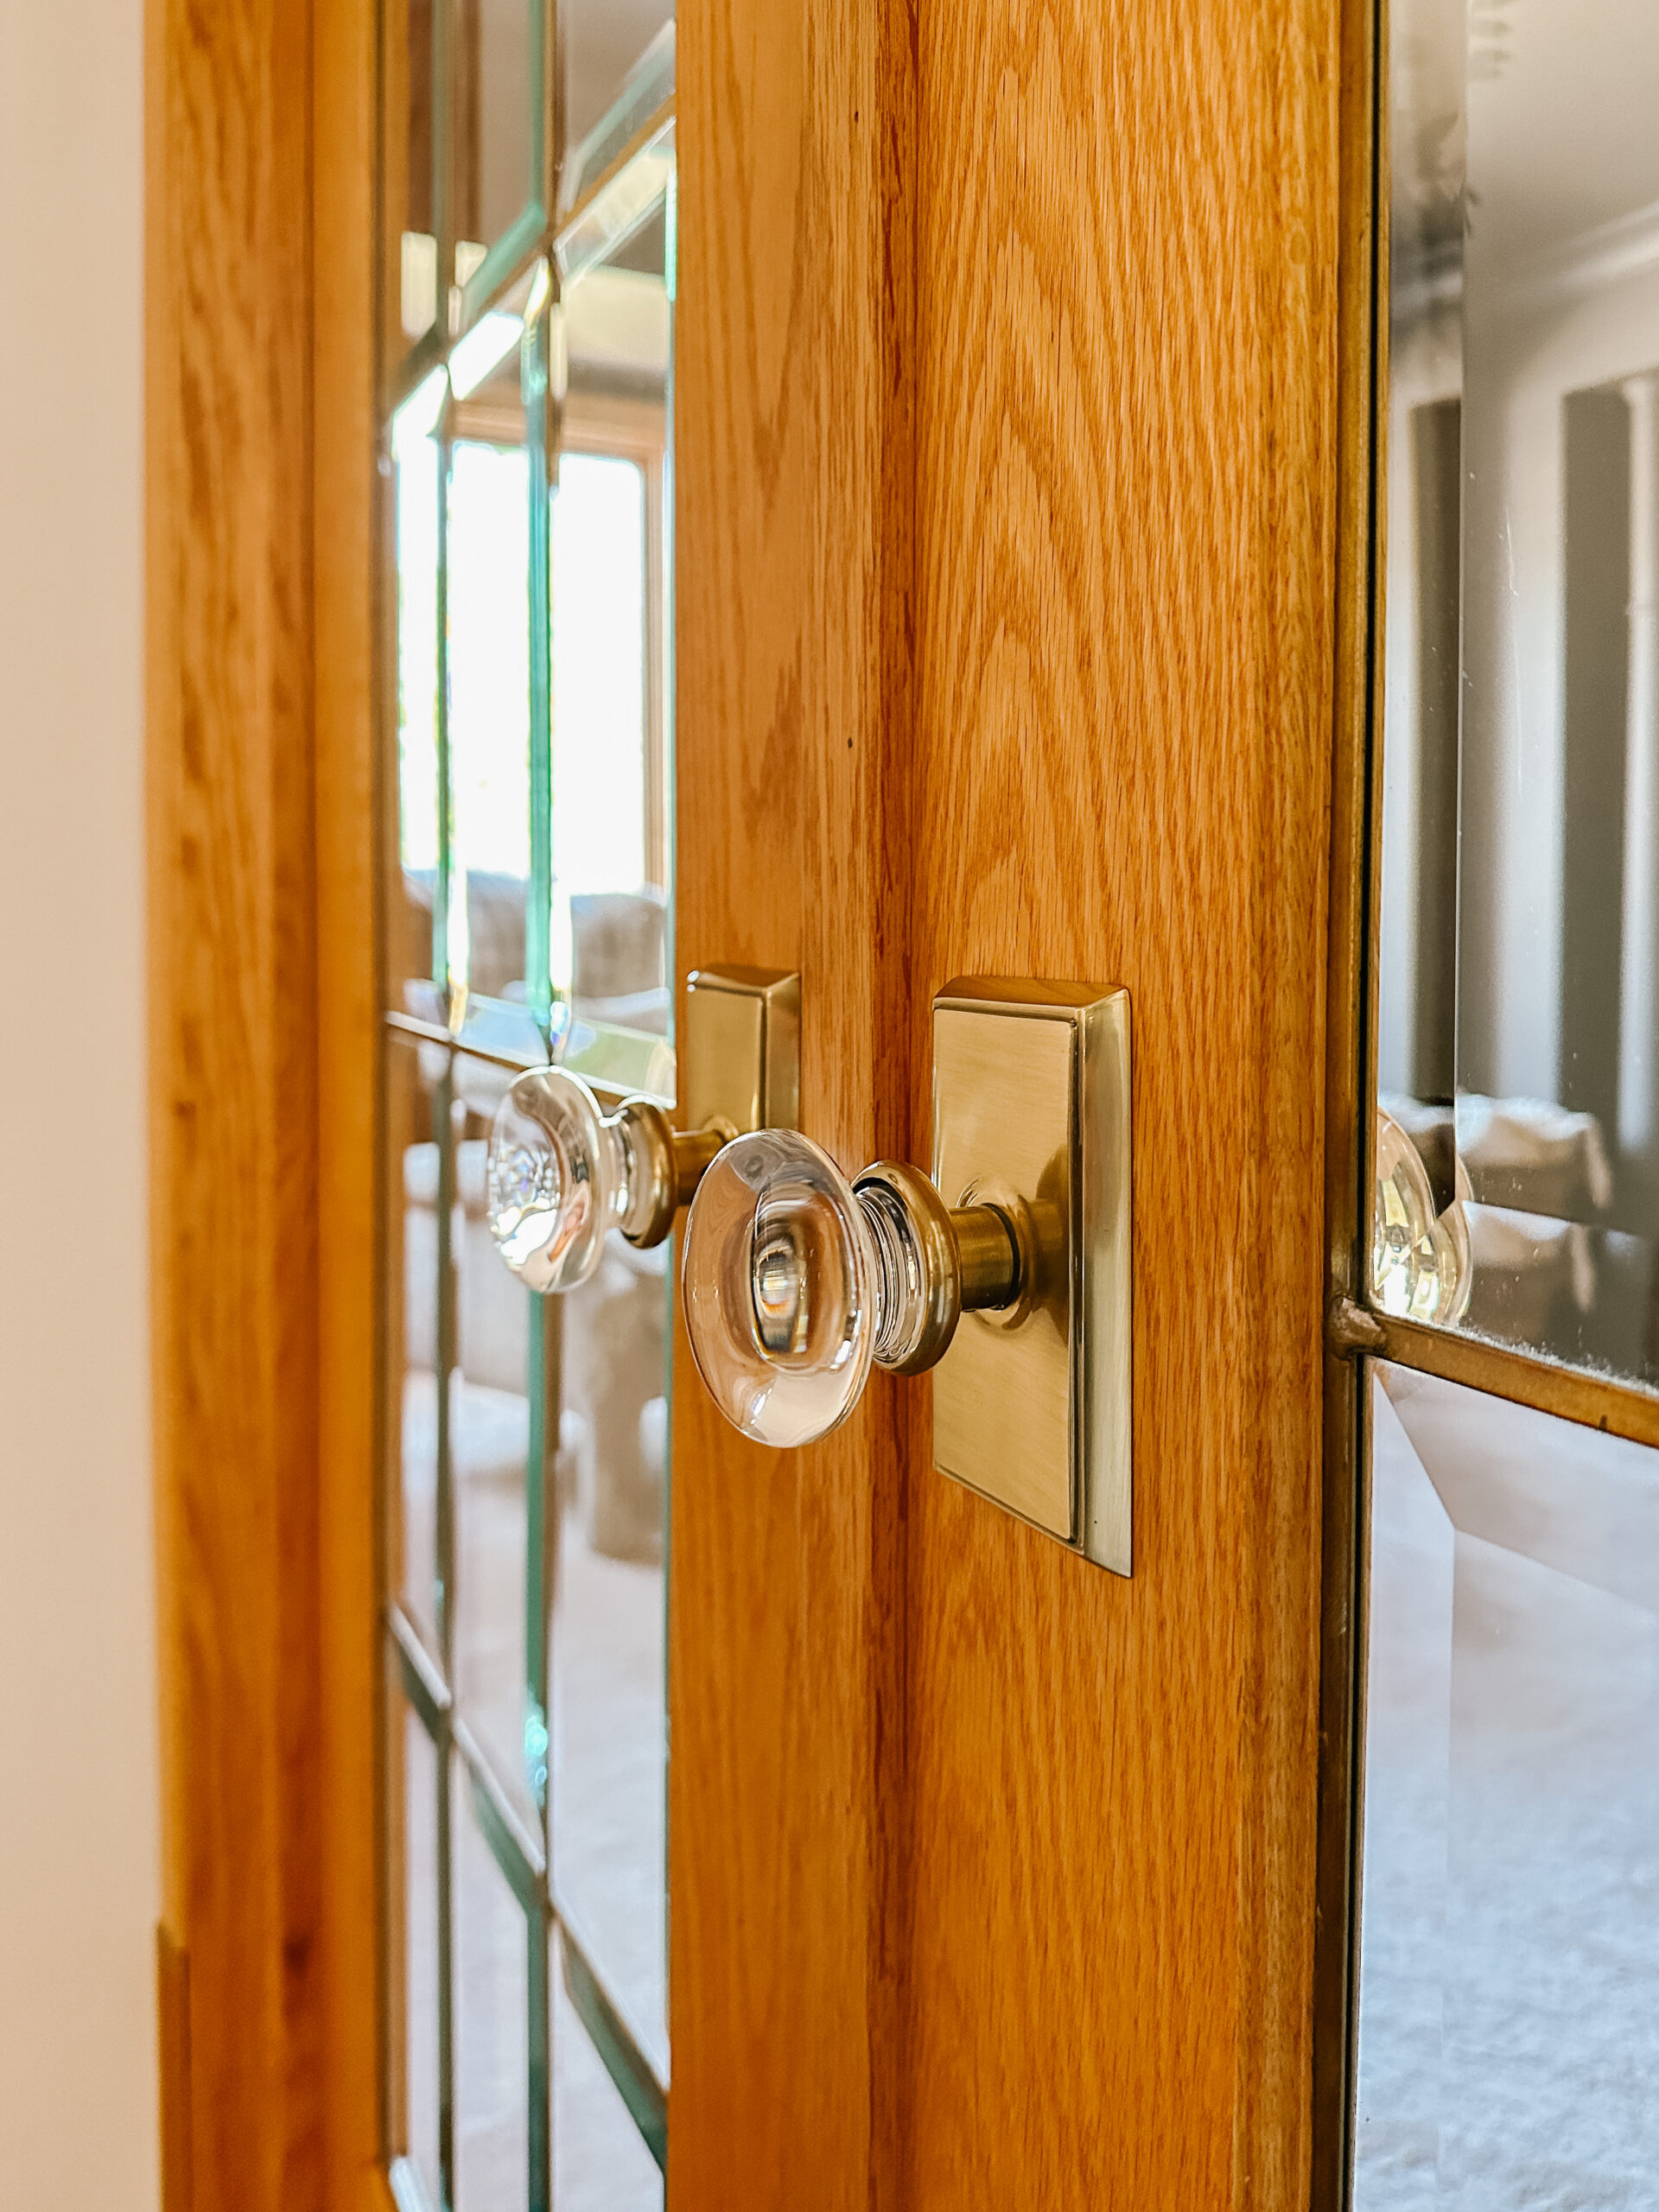
Changing out the hardware on your cabinets and doors can make a world of difference. Hardware is another one of those design elements that can really give away the age of a house and can bring a dated to feel to any space. Whether you go with something that has a more modern feel, or stick with a more classic or traditional style, swapping out your hardware is a simple way to update any space. So far, we’ve swapped out all of our dated polished brass door handles and, while we went with a very traditional style, our doors definitely feel less dated and more intentionally designed.


SIX: Update your doors & trim.
Speaking of doors, updating the look of your doors and trim will easily make and space feel more up-to-date. Dated doors and trim are another dead giveaway as to the age of a home (honey oak, I’m talking to you!). Whether it’s with a few coats of paint over your existing trim or changing them out entirely for something new, updating your doors and trim can go a long way to making your home feel less dated. So far in our home, we’ve updated most of our trim with a bit of paint – a simple white over the oak throughout our main living areas, a more bold contrast trim through our laundry & mudroom, and finally, the most bold choice of all, a soft black over most of the doors (I opted not to paint the oak doors). You can read more about our door makeover here and the contrast trim in our mudroom here.


SEVEN: Add some wall treatment to your walls.
Whether it’s shiplap (horizontal or vertical), board & batten, bead board, or picture frame moulding, full wall or wainscotting, adding moulding to your walls is another simple way to bring loads of character to any space. Wall moulding can pack a big punch, which can not only help a room feel more up-to-date, but also helps to draw the eye away from any other design elements that you may not love. We haven’t added any wall mouldings around our Tudor yet, but I plan to work many styles of mouldings throughout our home. We did add board & batten to our old dining room and I loved the easy way it became a design feature through our whole main floor (find that tutorial here). We also added shiplap to Carson’s old bedrooms (horizontal in one and a vertical wainscotting in the other – see them in our old home tour here). I’ve got big plans to add all sorts or wall moulding through our new/old home, you can find some of my favourite wall moulding ideas here.


Wallpaper is another easy way to bring a really big design impact to any space. While we made use of it in our old home in both our primary closet as well as our basement bathroom, we have yet to add any here in our new home. But let me tell you, I’ve got big plans to add wallpaper in all sorts of different areas around this new/old house of ours!


If you’re a little leery to jump on board the wallpaper train, you can get a similar sort of look and feel with just a bit of paint and a wall stencil. We made use of this in our old primary bedroom as well as our old guest room and I couldn’t be happier with the results (find the tutorial for our stencilled wall here).


EIGHT: Add some area rugs.


Speaking from experience here, when you’re stuck with some really awful flooring, bringing in an area rug or two can really help to camouflage it. The flooring throughout our entire house is not only dated, but it’s SO ugly – it’s honestly the thing I hate most about this house. While I wish I could tear it all out pronto, unfortunately I’m stuck with it until we’re ready to replace it. So what’s a girl to do when she really, really hates her flooring? Add an area rug (or 10) of course! I think I’ve managed to add a rug to nearly every room on our main floor and, while it doesn’t totally erase all of our ugly floors, it’s certainly helped to hide them a bit in the mean time at least.
NINE: New window treatments.

Updating the window treatments is not only a sure fire way to update a room, but it’s also a perfect opportunity to bring in some design elements that will help to elevate the look and feel of the space. We’ve replaced nearly all of the window treatments on our main floor now (aside from our study, for which I’m still deciding on a direction for the design). We have an entire wall of windows through our kitchen, dining and living room, and there’s no denying that whatever window treatments we went with, they would have a big impact on the look and feel of these spaces; however, because they all face south, it was also really important to keep in mind the practicality of blocking out that afternoon sun. While I would have loved to add some lovely cafe curtains through our kitchen, it really wouldn’t have been a very practical choice for us. Instead, we opted for smart blinds that run on a schedule to automatically follow the sun around our house (if you’re wondering, they’re the roller shades in the Monomer fabric in White). While they’re certainly not a stand out in terms of design, they look infinitely better than the mauve honeycomb blinds that used to reside on those windows and they definitely function a whole lot better for us too! To soften things up, I decided to go with custom curtains over our dining room doors – it was the perfect way to break up the wall of shades and bring in a bit of cozy texture at the same time. These custom curtains were far more affordable than I’d expected and I am super impressed with the quality – we went with the Liz style with a pinch pleat header, in the colour Ivory White, which is a gorgeous creamy white with just a bit of texture woven in.


TEN: Landscaping.
Landscaping has SUCH a huge impact on the curb appeal of any home. Even just cleaning up the existing lawn & gardens, getting rid of weeds and trimming grass, trees and shrubs can make a world of difference in helping a home to look welcoming and well cared for. Freshening up the paint on the porch, deck and fence can do wonders to update a home. Even better, adding in new walkways, patios, or other hardscaping can really change the look and functionality of your outdoor space. We’ve been working hard this summer to fix up all of our garden beds – pulling out all of the overgrown weeds and bushes, shovelling countless truck loads of dirt to replenish the soil and planting well over 50 new trees + shrubs. It’s been a ton of work, but it’s already made such a difference to the look and feel of our exterior.


Now we’re just working on getting our in-ground sprinkler system up and running and then we’ll be able to fill all of these flower beds with mulch to finish it all off. I can’t believe what a difference this landscaping has made!

Well friends, I hope this post leaves you with a ton of quick and easy ideas about ways you can update your own home without taking on a full blown renovation. While they may seem small and simple, these 10 simple ideas have to potential to totally change the look and feel of any space, helping you to make your dated house feel more like home too.
Wishing you SUCH a lovely day my friends!
This post may contain affiliate links. For more information, read our disclosure and privacy policies.


Hi! The white on your walls looks fresh yet warm. I love it! Do you mind sharing the color?
Thanks so much Lindsay! All of our white paint is Cloud White from Benjamin Moore – it’s a soft white that has just the right amount of warm to it without looking too yellow. It’s almost always my go-to white. Hope this helps!
Excellent post jam packed with practical but impactful ideas. Thank you for all the pictures showing the difference these changes can make!