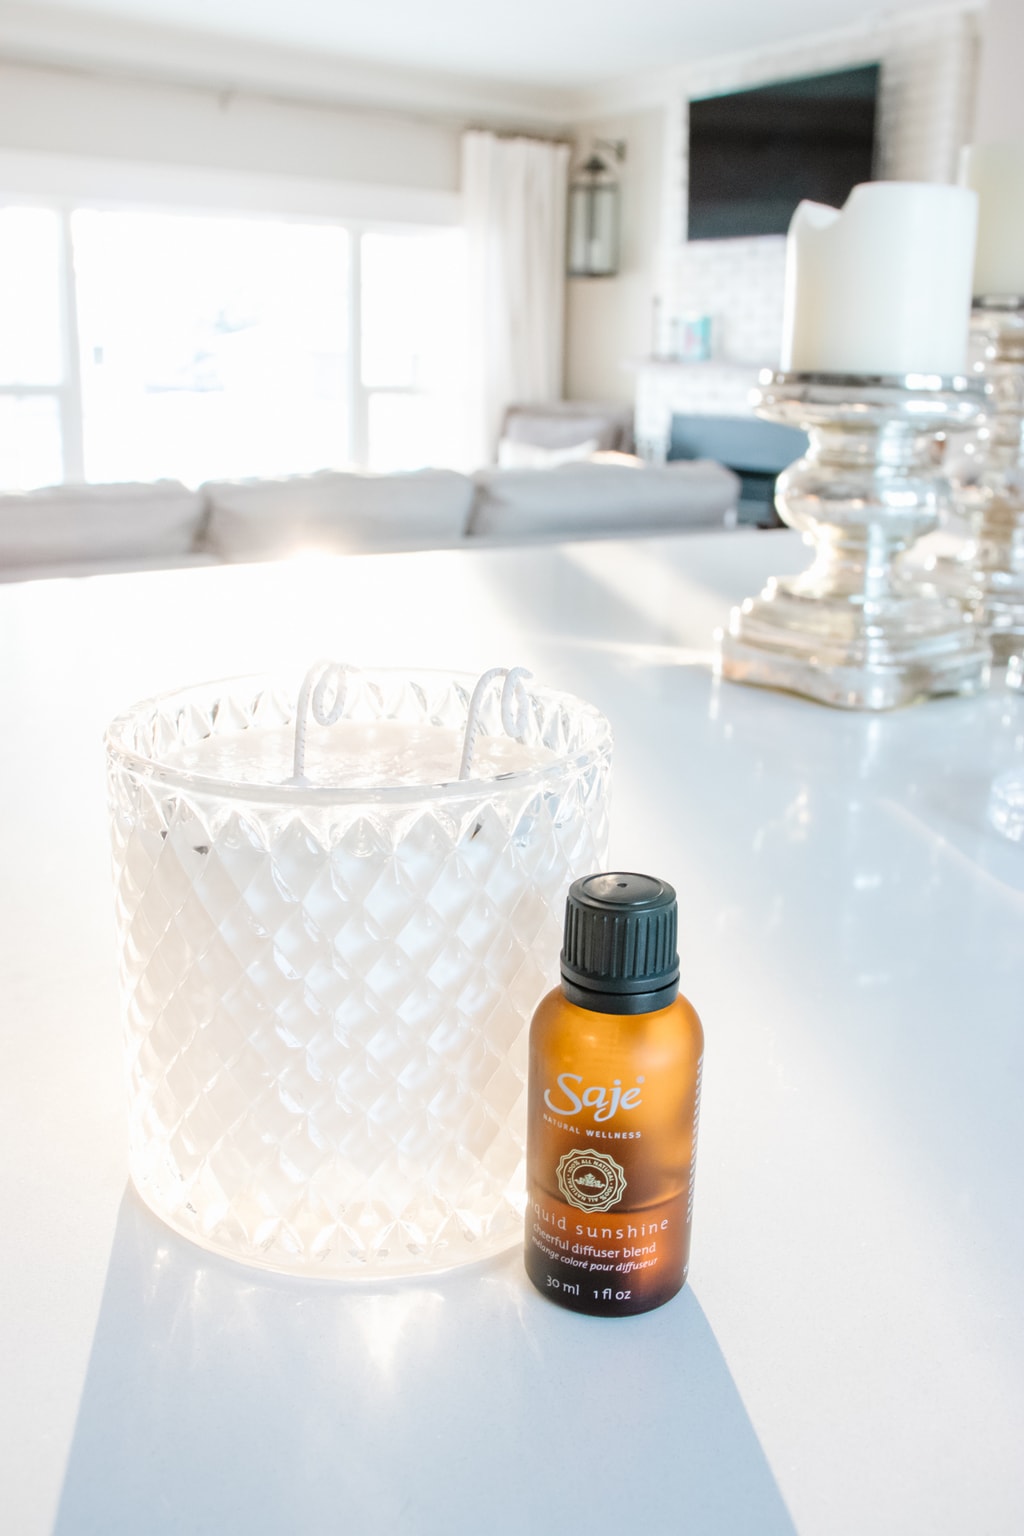
Nothing makes a home feel cozier than the warm glow and lovely scent of a flickering candle. I can’t wait to show you how quick and easy it is to make your own scented candle at home!

I don’t know what the weather has been like in your neck of the woods, but we’re smack dab in the middle of a province wide deep freeze here in Alberta. Now, we’re certainly no strangers to cold + snow around here, but with temperatures falling below -40ºC, this cold snap has the entire province wishing they could hibernate indoors until it passes.
As much as we all wish we could, most of us aren’t able to spend an entire week cuddled up under a pile of blankets in front of a crackling fire. But, when you live in a world covered in snow for most of the year, I’m sure it comes as no surprise that we’ve become experts at all things warm + cozy around here (you can read more about what cozy living means to me here). Sure, we may have to brave the cold to head to work or school through the day, but we definitely know how to make the most of a cold Winter’s night. And we’ve all mastered the art of making our home feel as warm + cozy as possible (find my 3 favourite tips here).

One of the very first things I do when I walk in the door on a cold Winter’s day is light a candle. After all, is there anything cozier than filling your home with the lovely scent and warm glow of a flickering candle?


As someone who has one burning away every chance I get, I know very well how expensive candles can be and it’s even harder of course to find one that won’t fill your home with harmful chemicals, which is why my favourite candles to burn are ones that I make myself. Not only are they much less expensive, but I can trust that they won’t fill my home with toxic chemicals. I can customize them with my favourite scents and I especially love that I can reuse my candle vessels (here’s how I clean mine out), which means I’m still being kind to the environment. Best of all, they’re SO darn simple to make!
How to make a scented candle

Supplies:
- candle container (here’s the one I used, but I often use jars too)
- wick (I used these stickers and wicks)
- soy wax
- essential oil (I used this blend from Saje)
- large glass measuring cup (just use whatever you have on hand, it washes up just fine)
- metal spoon to stir
*You could also just purchase a candle making kit, which has everything you’ll need to make your own except the vessel to pour it into.*
Method:
step 1

Fasten your wick(s) to the bottom of the jar with a wick sticker. Then, feed the top of your wick into the centring device and lay it onto the top edge of your candle vessel. You can also wrap the top of the wick around a pencil placed across the top of the container if you don’t have a centring device or your container is too wide to use it (as mine was).
step 2

Fill measuring cup with soy wax pellets and melt in the microwave. You really could use any microwave safe container to melt the wax, though I loved having the spout to pour with.
You’ll want to microwave in short intervals (I went with just 30 seconds at a time), making sure to stir it all up each time. It will seem to stay solid for ages, but don’t let that fool you – all of a sudden every last pellet will be melted, almost all at once. Be very careful not to overheat, as you will start to burn the wax.
Step 3

Stir the heat out of the wax, observing the change in consistency as it cools. Once the wax has cooled to the consistency of molasses, you can stir in your essential oils (I added about 20 drops per pound of wax used) and slowly pour your wax into the container(s).
Step 4

Allow the candle to cure for 48 hours before lighting.
Trim your wick to 1/4 inch and light away.


There are just so many reasons to love making your own candles – choosing the prettiest containers, using my favourite scents, knowing the are clean burning and of course saving money and being environmentally conscious while doing it! Best of all, now you know how simple they are to make! I hope you’re feeling inspired to try making your own candles too!


Honestly, there’s just nothing cozier than the glow of a candle on a cold Winter’s day. These lovely candles are just what we’ll need to make it through another long, cold Winter!

Stay warm my friends. Wishing you such a lovely day!
PS. This post may contain affiliate links. For more information please see my privacy policy.


I really like that they are so easy to make and that you can pick your scents. I have to avoid the chemicals so often found in scented candles due to allergies…thank you for the simple step-by-step instructions!
Where are the Candle Jars From?
Here’s a direct link for you Brenda: https://amzn.to/38AvN2j.
Thank you!!! We’ll have to try making a batch together one of these days!