
Farmhouse Home: How to Make a Rustic Scrap Wood Pumpkin
The perfect way to put that scrap wood to good use and create some rustic fall decor with this simple scrap wood pumpkin…

If you’re anything like us, you’ve got a workshop full of scrap wood that only ever seems to get bigger with each new project, rather than smaller.

Which is why, every once in a while, I love to plan a simple scrap wood project to put some of it to good use.

Not only does it help to whittle down that big old pile (at least a little), but it makes for the most perfectly rustic decor.

Today’s project is one of those bucket list DIY’s. You know, the ones you’ve been meaning to make for ages but never seem to get around to.

I’ve had the best of intentions to whip up a rustic wood pumpkin for years now, since crossing paths with the cutest pallet wood pumpkins somewhere along the way. But, life is busy … blah, blah, blah … all of a sudden Fall would turn into Winter and I’d have missed my chance for yet another year.
But not so this year my friends.
Even though this is quite possibly the busiest Fall I’ve ever experienced (hello back-to-school and reno planning), we somehow carved out the time to throw together our own version using up at least some of that giant heap of scrap wood taking over our garage.
And it took us less than 20 minutes.

So, here’s how we did it…
We started by cutting down a few planks of wood to a uniform length (we decided on making all of ours 2 feet long), varying the widths of the boards as much as possible.

Then, after lining them all up to make a square, we ran a single board across them all, drilling a screw into each one to attach them all together.

Finally, rallying all the artistic ability I could muster, I very roughly sketched out a pumpkin shape across them all. And, using a our jig saw, we cut out my pumpkin shape.


I sanded it all down to smooth out any of the rougher edges and then coated each board with a different colour of stain.

I also chose to throw a bit of white chalk paint into the mix too.
One more quick sand over everything to mute the colours a bit and a I had myself a rustic scrap wood pumpkin.

Hmmmmmm, well almost anyway.
I decided to chop a short piece of birch branch to make a sweet little stem, which we just attached with another screw into the middle board on the back.

And, there he was! The sweetest rustic scrap wood pumpkin that you ever did see!

Just 20 short minutes later.

My goodness, I still can’t believe that I waited SO long to finally make this.
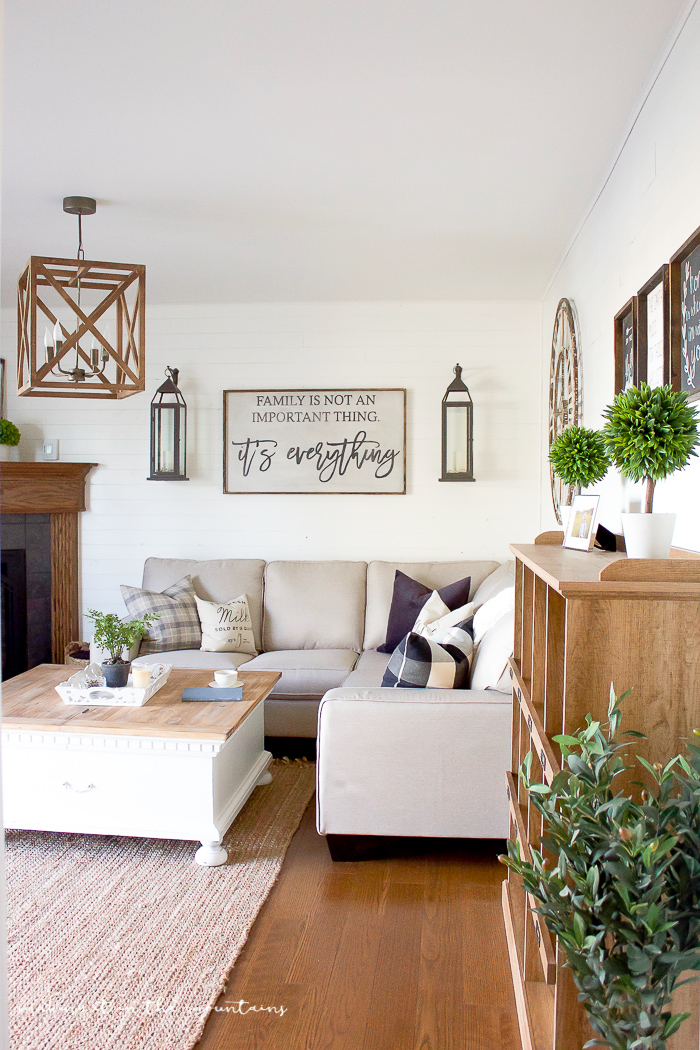
Though I’d say it was worth the wait. Just look at how lovely he looks sitting atop our gorgeous oak bookcase that we picked up at The Brick!

If you’d like to read more about this farmhouse style living room space, including links to all of the decor and furniture you see pictured here, pop on over to our family room reveal…
If you loved this, you might also want to check out the other projects below:


SUCH a big thank you to The Brick for providing the beautiful furniture you see in this space and sponsoring this post!

Wishing you SUCH a lovely day!
PS. This post contains affiliate links for your convenience, please read my privacy and disclosure policies for more information.


Such a quick and easy project! I have a bunch of scrap wood that I am planning to use for something like this. I love how you mixed stain and chalk paint to give it some character.
Thank you so much! SO happy you love it!