Happy Monday!!! Somehow the weekend came and went in the blink of an eye. We had a super busy Saturday shopping in Spokane, so the only useful thing we tackled on Sunday was to get those shelves up on the wall. I am SO excited to FINALLY share this post after so many weeks of talking about it!
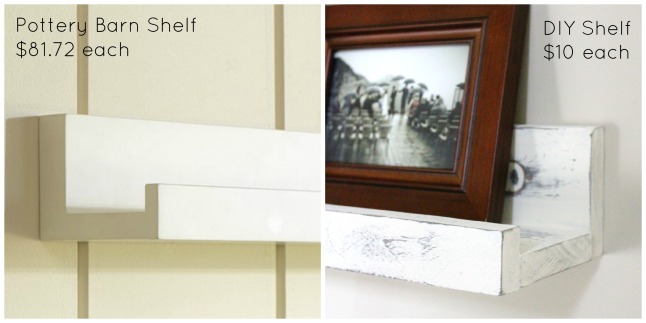
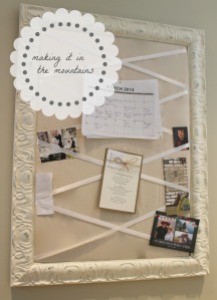
Since turning our wedding collage picture frame into a giant bulletin board (see picture below), I needed a new way to display some of our pictures. I bought some barn wood frames a while ago to put the pictures into, but since I wasn’t really sure where to hang them, they’ve sat stacked in the corner of our guest room for months now just waiting to be used. When I came across this post by Shanty-2-Chic, I knew that some picture ledge shelves would be the perfect way to display our beautiful photos and frames.
Here’s what you’ll need for each shelf to make your own:
- 2-1x4s cut to length
- 1-1×2 cut to length
- some screws (I used #6 x 2″ wood screws to put together the shelves and 2″ drywall screws to attach it to the wall)
- some finishing nails
- wood glue
I had Brady cut our wood to 3′ lengths and then I stained each piece with Minwax wood stain in Dark Walnut.
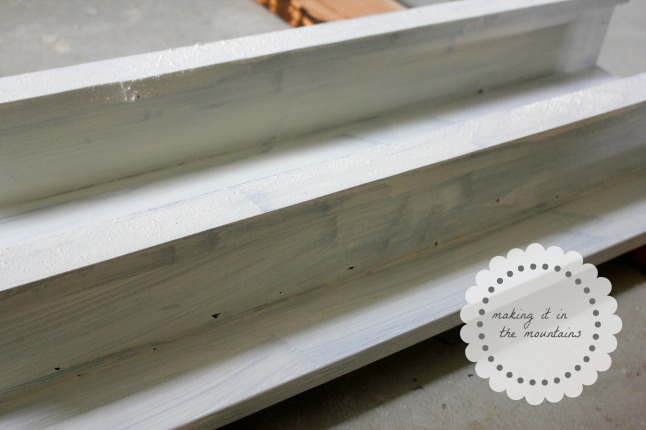
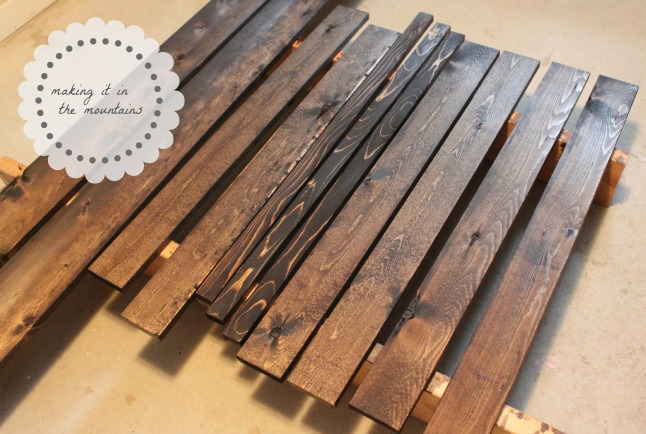 *Note: The 1x6s shown in this photo were used to make this DIY Art Display Hanger.
To attach our 1x4s together, I added a line of glue to bottom edge of one board and then pre-drilled through the back and screwed them together.
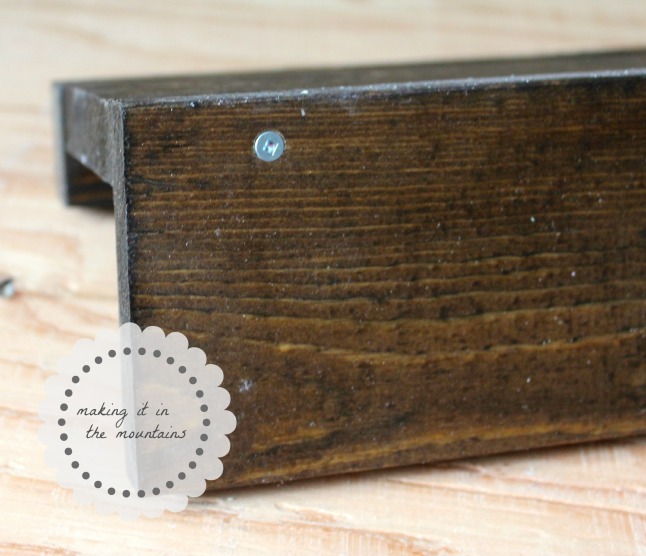
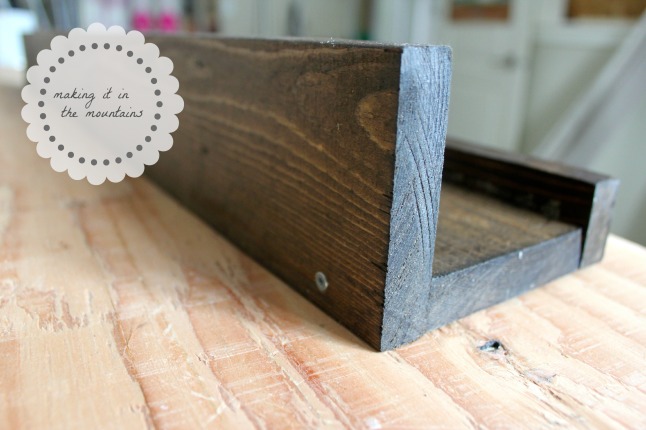
To attach the 1×2, I simply ran a line of glue along the bottom 1×4 (not the the back piece with the screws) and attached the 1×2 with some finishing nails. That’s it … easy peasy!
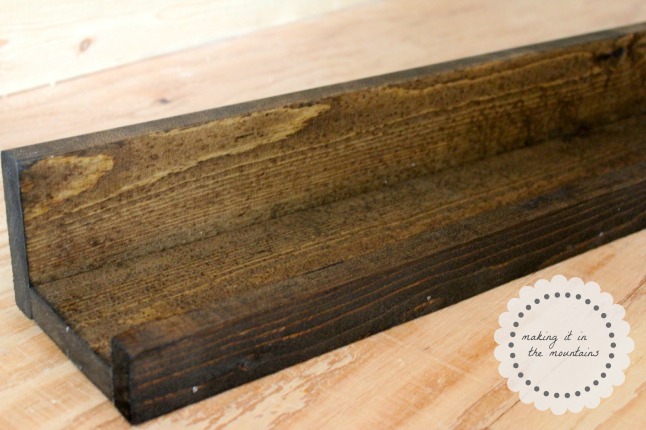
Although my original intention was to leave the beautiful walnut stained wood exposed, in the end, I chose to apply a coat of Annie Sloan Chalk Paint in Old White over top of the stain because (1) I didn’t like the way the colour turned out on the 1x2s and (2) I thought the white colour would contrast more with my barn wood frames. I’ve only just begun experimenting with Chalk Paint, but I’m in love with it already!!! It’s so easy to see why it’s become so popular … you don’t need to prepare the surface at all (though if you have raw, unfinished wood, you’ll need to shellac or stain it first), you can paint ANYTHING, it dries quickly, distresses easily and just a little paint goes such a long way.
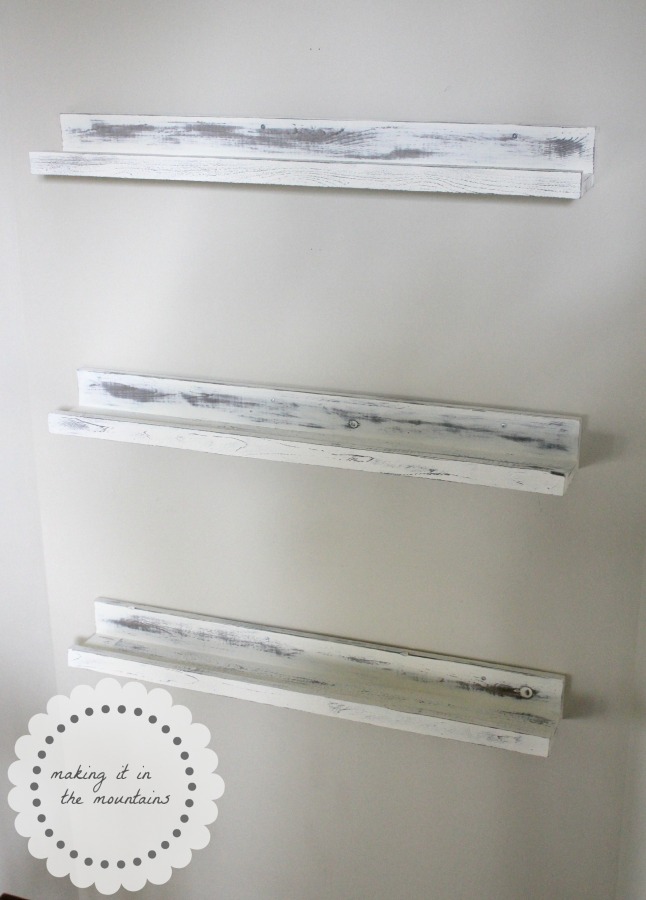
Here’s what the shelves looked like after the first coat of chalk paint.
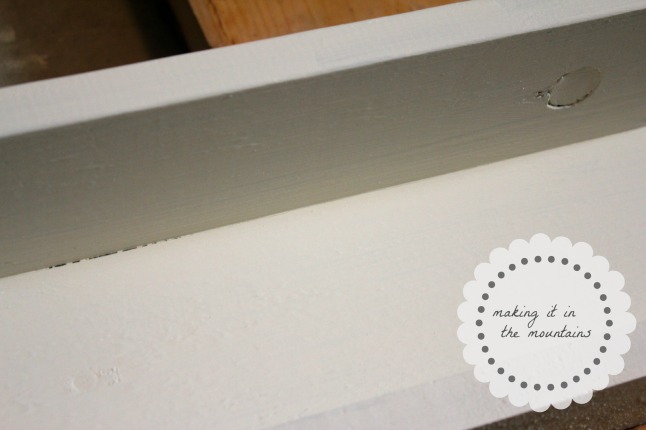
And after the second coat.
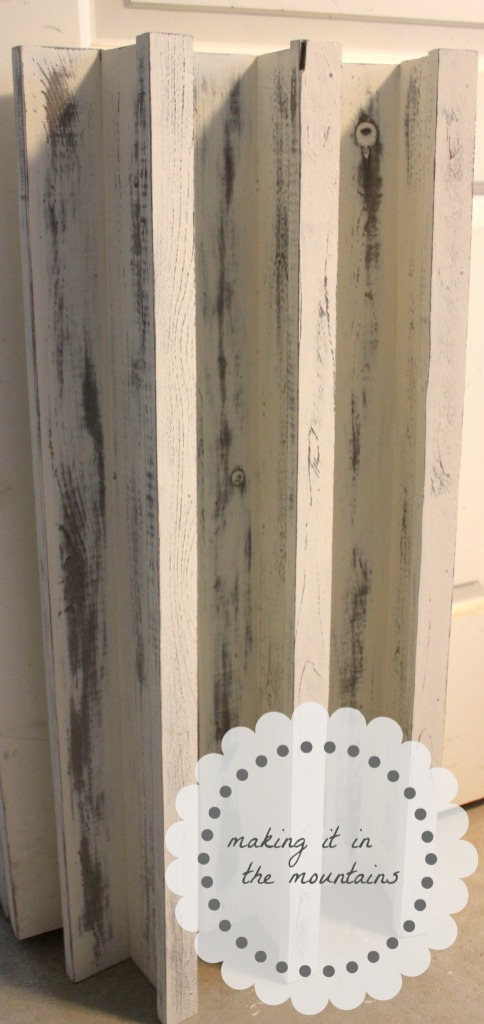
I also chose to sand it down a bit to give it more of a distressed, rustic look. I absolutely love the way the dark stain shows through!
To hang these babies on the wall, I screwed a couple of 2″ drywall screws through the shelves into the wall studs. It didn’t really matter to me that the screws into the wall were visible because they would be covered with pictures anyway, but you could always nail some art hooks onto the back if you didn’t want them to be visible.
Finally, it was time to pile them full of pictures!
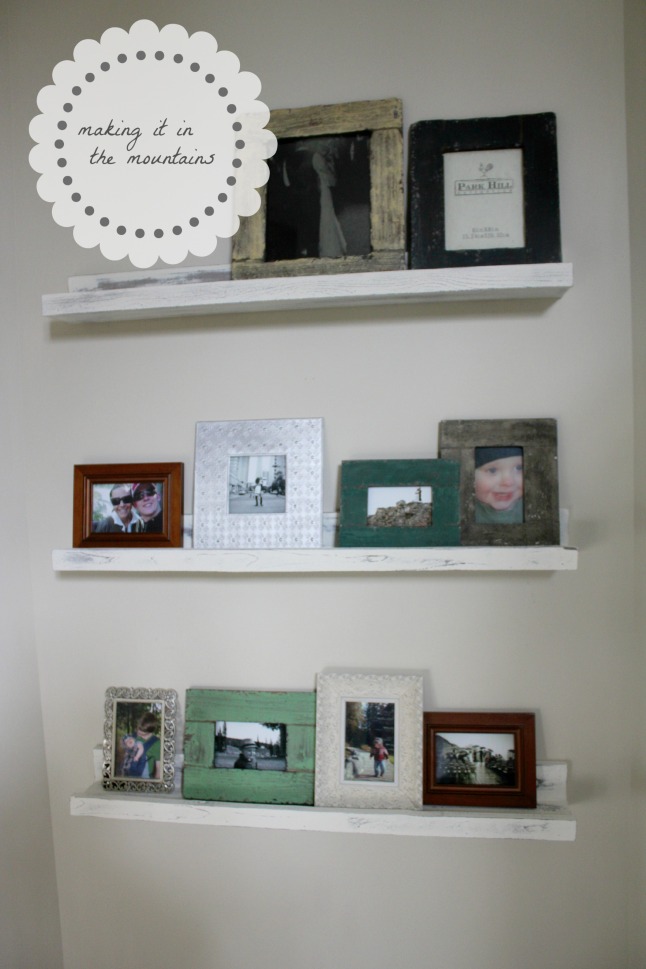
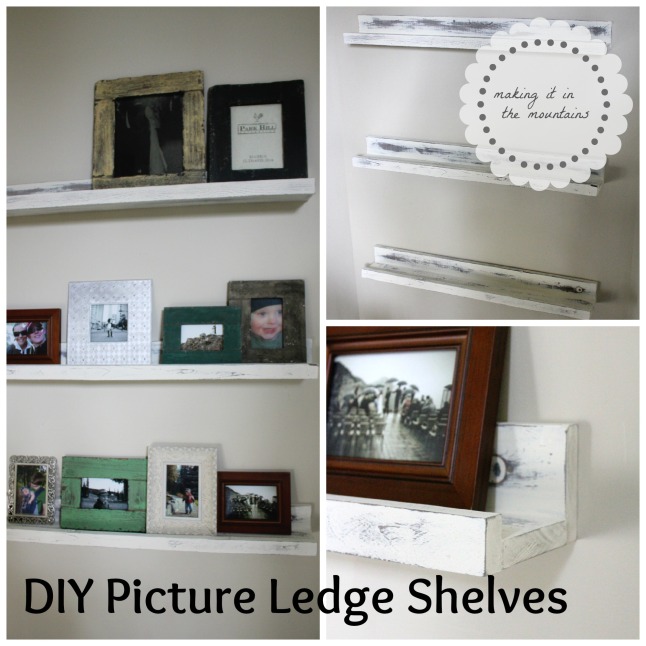
I am so in LOVE with how these turned out!!!
Shared with: Sew Crafty Cat, Kleinworth & Co, Craving Some Creativity, Saving 4 Six, No Biggie, Too Much Time on my Hands, DIY Showoff, Pieced Pastimes, The Blissful Bee, It’s Overflowing, Miss Mustard Seed, The Charm of Home, Chic on a Shoestring, My Romantic Home, The Thrifty Groove, French Country Cottage, Craftberry Bush, Liz Marie Blog, Imparting Grace, From My Front Porch to Yours, Green Willow Pond, Maison de Pax, A Stroll Through Life, I Should be Mopping the Floor, Mod Vintage Life and Elizabeth Joan Designs.


These turned out great, Kristi! I love the way the dark stain shows through the paint. I’m just getting into the Chalk Paint as well, I’m obsessed!
Thanks Bre! Isn’t it fabulous?! I find myself wanting to paint EVERYTHING now 😉
This is gorgeous! I’m in love. I’ve been coveting the Pottery Barn shelves for sometime and just haven’t been able to bite the bullet. Now I know that I don’t have to. Thanks for the amazing share.
Awww, I’m SO happy you love them too! Be sure to share a link when you get them done 🙂
They turned out SO nice and what a unique idea!!
Love these shelves! Great Job! Thanks for sharing with us at Your Designs This Time!
Emily @ elizabethjoandesigns.com
Thanks Emily!!!
I love these Kristi! Pinning it!!! 🙂
Thanks Nicole!!!
I love it, what a knockoff and super tutorial. I would love for you to link up to my Inspire Me party that goes lives tomorrow afternoon around 3:30. http://www.astrollthrulife.net. Hope to see you there. Hugs, Marty
Thanks for the invite Marty!!!
These are so great! I love the white chalk paint over the stain. Thank you for sharing them and your adorable little nightstand at What We Accomplished Wednesdays. Have a lovely week! ~Deborah
That’s so sweet Deborah! Thank you SO much for your kind words!!! Wishing you a fabulous week as well!
I love this DIY. Thank you for sharing and linking up with us at the #WWDParty – have a wonderful weekend!
Thanks SO much for stopping by Antoinette! Wishing you a lovely weekend as well 🙂
These are really pretty. I want to make done to go in my room but I’ve been busy. I am going to pin them and try them later. I’m stopping by from the blog hop and I’m a new follower.
They’re SUPER quick and easy Leslie, I promise! Thanks for stopping by!